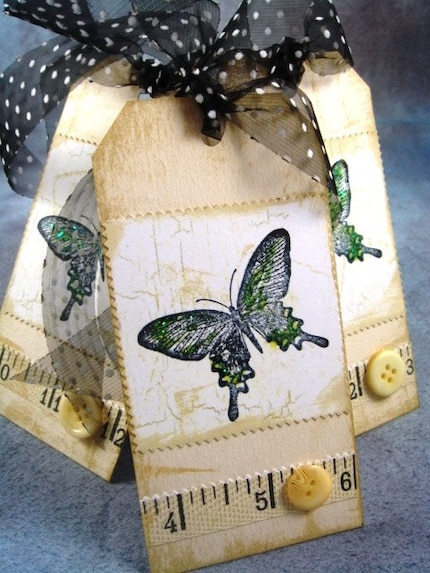
10 Tips: How to get a smooth, flat, even surfaced collage:
1. Heavy Papers. Start with heavy watercolor or printmaking paper as a base for the collage.
2. Uniform Weights. Work with papers that have a uniform weight. For example - use all medium weight collage papers. If your original papers are too thin, too thick, or fragile, photocopy them in advance onto Cranes 100% cotton fiber paper, available in boxes in stationery stores. Photocopying also allows you to create multiples of an image, reduce or enlarge an image. Cranes paper works well with medium weight acid-free printmaking and drawing papers.
3. Plan Ahead. Plan the collage as much in advance as possible.
Sort and select papers you will use by image, scale, texture and color. Determine how you will begin, and if collage papers will overlap or if paper edges will butt.
4. Set up your workspace. Include an area to sort and view papers, to place papers on the substrate (collage base) and to apply glue. Add a space for the glue container, brush and water tub, pencils, scissors, and any other tools. Keep paper towels and trash bin nearby.
5. The Right Glue. Work with the right glue for the paper you use. I
always use PVA white glue because it works well with medium weight papers. Make sure glue is the right consistency (viscosity) – not too thick and not too thin. I also use distilled water to thin my glue, and work with a small amount of glue in a small glue container, separated from the larger glue container. This helps avoid any contamination into the large glue supply. I purchase small plastic flip-top containers for this purpose sold in art supply stores.
6. The Right Brush. Work with the right size brush. I use a 1/2-inch to 3/4-inch bristle or sponge brush. Apply the right amount of glue onto the back of the collage papers. Too much glue causes glue puddles, leaks, streaks and air bubbles. Too little glue reduces qualit
y adhesion.
7. Work on a clean surface. Place each collage piece face down on clean paper towel. Apply glue to back of collage piece with even strokes, starting the brush at the center of the collage piece with a sweeping brush stroke out toward the edges of the paper. Continue brush to just outside the edge of the collage paper (onto the paper towel). This ensures glue is coating the edges of collage paper. Note: I change and turn paper towels often so that paper towels are clean, and glue never gets on the front of the collage papers.
7. Reduce excess glue. Blot glue from the back of the collage paper:
Flip over glued collage paper and place glue side face down onto paper towel and press gently to remove excess glue before placing collage piece onto the substrate. If paper is placed incorrectly, quickly lift it up, place it onto a clean paper towel and reapply glue (steps 5, 6 and 7 above) and place again onto collage substrate.
9. Squegee. Use your hand or a plastic squeegee and press th
e glued paper down onto the collage substrate. Protect the surface of the collage in progress. Use a paper towel or glassine sheet to prevent fingerprints, glue or dirt when you transfer glued papers. Use a wooden 1 inch wooden wallpaper seam roller to roll edges of each glued paper down to ensure a good bond and prevent edges from curling up.
10. Gesso. Continue to apply collage papers until piece is
completed to your satisfaction. If the collage base has curled or warped (for example, the entire finished collage does not lie flat), place it face down on a heavy, clean cardboard surface and tape down back of collage 1/4 inch in from all sides with acid free tape. Brush a single, even coat of gesso in a horizontal direction to cover the entire back of collage right up to the taped edge. Allow to dry. Brush a second coat of gesso in opposite vertical direction to cover the entire back of the collage. Allow to dry. Remove tape and discard. Collage should be completely flat. Protect the front surface of collage with acrylic gel medium or varnish. When framing the collage, do not allow glass or Plexiglas to touch the collage surface.


